Monday, January 30, 2012

Brother Birthday

Quick post today.  I've been working on a few cards I have to mail this week.  Today's card is one of those -- a birthday card for my brother.  It's always a little difficult to do "guy" cards, but this is pretty simple, no flowers, bows, or frilly stuff.  I hope he likes it.


Following is the inside of the card and the envelope.  I think it looks pretty birthdayish. 


I hope you all had a nice weekend.  I spent all day Saturday with my grandkids -- 9 yr old J.T. and his 6 yr old sister, Hannah.  We had a great day, going to the movies, playing games, doing a little crafting, and grocery shopping -- for treats.  We stayed busy.  I got home after midnight, very tired, but very happy.   And then yesterday we just "chilled."  I really enjoy "chilling."  (smile!)

Well, that is it for today.  Thanks for stopping to take a look.  Until next time.......

Crafty Hugs,
Sandy

Sunday, January 29, 2012

Morning Chat Challenge Jan 30

You've heard me say the Morning Chat group has a challenge every two weeks.  The challenge this time is hearts.  I decided not to do the obvious red heart for Valentines.  My post today could be a Valentine, but it also could be just a loving card for a special someone.  I used the Paper Doily Sizzlit Die and then I took the Heart Framelit and cut a heart shape from that doily.  The base heart was cut with a larger sized heart framelit and then embossed by running the heart back through the Big shot with the spongy shim to create the ridging.


Here is the inside of my card.  You can also see the envelope in both pictures.  And do you see that beautiful stamped image?  It is a stamp set in the SAB brochure called Fresh Vintage, and you can have it FREE with a qualifying purchase from either the Occasions mini or the big catalog.  Such a nice set. 


This last image I included just so you can see the embossing on the base heart and a little more of the pretty heart doily.   I hope you like my challenge.   Come on over to Donna's site and join in the morning chat and in future challenges.   http://www.butternutsagedesigns.blogspot.com/

Thanks for stopping by.  See you next time.

Crafty Hugs,
Sandy

Friday, January 27, 2012

Panda Valentine

This little guy is sooo ca-ute!  Over on Lisa Young's blogsite http://addinkandstamp.blogspot.com/ I saw this adorable little panda, and knew immediately he was the guy we would send to our grandchildren on their Valentine cards.  And Lisa has a terrific tutorial with all the details, so hop on over there and take a look  (thanks a bunch Lisa).  She used her panda for candy wrappers, but it works just as well to put him on a card, don't you think?  Isn't he sweet?  [Hmm, he looks a little cross-eyed!]


So then I got to thinking -- a really dangerous act for me -- and I realize that he also qualifies for the heart challenge we chatters have due this weekend over on the Butternut Sage  blogsite    http://www.butternutsagedesigns.blogspot.com/  (hi Donna).    Our challenge is a "heart challenge," and this panda certainly fits the bill because he is made of almost all hearts.  However, he is not my original idea, so I may still submit the one I have already made for that challenge.  Or, I might even submit both of them -- dangerous, huh?

I get a little bored from time to time with all one theme, and I'm getting pretty tired of Valentines.  I'm really looking forward to finishing Valentines and getting on with St. Patrick's Day and spring.  In fact I excitedly announced to my hubby a few minutes ago that I was done, done, done, with Valentines.  I have cards for him, 6 grandkids, 3 nieces, the challenge, couple of friends, and an assortment on my blog and for my stash.  Then we discovered,  yikes, we are missing one grandchild.  Back to the drawing board.......

See ya next time -- and that'll probably be with the challenge for this weekend.  Thanks for coming by.

Crafty Hugs,
Sandy
      

Friday, January 20, 2012

Valentine Sweets

What is it with this crazy weather.  Yesterday we had beautiful 50s and even up to 60s weather.  Today it is cloudy and dreary and the forecast is for freezing rain and some wet snow tonight and into tomorrow.  I can't figure out whether to go out and enjoy, or stay inside and hide.  So, I've been stamping in my craft room, where I have my music, my computer, my TV, warm temperature, and I have a skylight so I can see what the weather is doing outside.  I think I have the best of all worlds right there.

Today I've been working on still more Valentine things.  I made a heart pouch to use as a little candy gift holder.  The hearts were cut with my heart framelit.  Have I said I love the new framelits?  Well, if I haven't, then let me tell you now that I love the framelits and hope Stampin'Up! creates more in upcoming catalogs.  hint hint    I used a little of the Attic Boutique designer paper and a few scraps of other paper I have around.


Have you seen the Designer Cuts card and envelope set on pg 9 in the Occations Mini?  The laser cut heart is so pretty.  On my next example I used one of the cards from the pack, put a piece of red glimmer paper behind the heart opening and added a little pleated ribbon and a sentiment.  So fast, so easy.  Hmmmm......just thought of something, maybe a squirt or two of Smooch Spritz might add something.  I may go back up to my craft room and try it.  For now there is no spritz.  I did, however, do a little something different by CASEing my friend Donna's (Butternut Sage)  idea to unpleat a little of the ribbon and then I tied a pretty matching bow.  (Thanks Donna)


Almost everything I used today comes from the Occasions or SAB Minis.  I think I could just put my toys -- um, tools and products -- from those catalogs in the middle of the table and could happily create for a long time.  Everything is so versatile, and I have a hard time deciding which to use first and which way to use it.  Everything is so pretty.  I hope you like my Valentines for today.  Come back for another visit soon.

Until next time............

Crafty Hugs,
Sandy

Thursday, January 19, 2012

Love in the Air

I've been diligently working today on several things.  I'm working on a few more Valentine style cards and a few 3-D items with mainly product from the Occasions and SAB minis.    I also have just a couple kids cards to make for Valentine's Day for the grands and then I will move on to spring.  Even though winter is far from over, I feel like flowers and pretty colors are in my near future.  In the meantime, here are two more cards from my efforts today.


On this first card I've used Take It To Heart from the Occasions Mini.  I really like silhouettes and this one is quite nice.  The designer paper is FREE.  It is Everyday Enchantment in the Sale-a-bration mini.  You can choose this paper as a free gift with just a $50 purchase from any of the current cattys.  The ribbon is Baja Breeze seam binding which I gathered to give it that ruffled look.

On this second card I used a FREE stamp set from the Sale-a-bration mini called Outlined Occassions.   When I saw that set I knew I had to have it, quick.  I love the outlining and the swirly little designs included with the words.  You can leave the words open or you can color them in like I did on this card.  Such a pretty set.  On this card is a little designer paper peeking from behind the word Love.  This paper is from the Occasions Mini and is called Attic Boutique.  This paper goes very nicely with Rue des Fleurs stamps, also in the Occasions Mini.  That stamp set is on the next card I am working on.  I really like the shabby chic or Victorian look.  So feminine.  Of course, with all the men in my life, I need to get busy working on some manly things.  (I have 5 grandsons, what did you think I meant -- smile!)   There are plenty more stamps and paper that will fit that bill.  Go take a look.


That's it for me for tonight.  I'll be back as soon as I can with more designs.  Thanks for visiting, and I hope you enjoyed my latest creations.

Until next time.........

Crafty Hugs,
Sandy

Tuesday, January 17, 2012

Doily Delight

Here's a deviation from Valentine cards.  I made a first attempt at using my new Paper Doily Sizzlit.  The doily sure is beautiful and it is versatile as well.  Mine is the full circle, but I've seen others take the doily and then punch a heart from the center.  That means you can have a heart shaped doily too.  And I bet other shapes as well.  I'm going to try that next. 


It does take some getting used to.  When I first took the die out of the package and tried it, I could not get a clean cut.  However, once I added a shim, and once I cut a few times, it seemed that the sizzlit was "worked" enough that I had broken it in.  You will still have to roll the finished cut a bit to loosen the pieces, and you will have to poke many of them out.  The finished product, however, is so nice.  When I was poking pieces from the above doily, I realized I had missed the second tier in from the edge.  I rather liked the look, so I left those pieces in.  It gave this doily a whole different look from the earlier doilies I had finished. 

I used some Everyday Enchantment designer paper from the Sale-a-bration mini.  Such a pretty package of paper, I had a hard time choosing which paper to use first.  You can get this designer paper FREE with a $50 order from the Occasions Mini or the main catty.  There are so many nice freebies in the SAB catalog.  So be sure to stock up on all your needs during this Sale-a-bration promotion, when you can also get free product just for ordering $50.


Here is the inside of my card.  I used  a flower image from Bodering on Romance, which is in the Occasions Mini.  I am really loving that stamp set.  On both the front of my card and on the inside I used Clear Dazzling Details and also Wild Wasabi and Poppy Parade Dazzling Details.  I love the extra accent and shimmer Dazzling Details gives to designer paper.  Oh, wait, Wild Wasabi and Poppy Parade Dazzling Details?  SU does not sell those shades.  Well, yes we do.   My upline, Buffy Cooper, started mixing the Dazzling Details with different colors of reinker, right in the bottles, way back when the DD first came out.  I've been mixing mine too.  I now have about 10 different colors, all in the easy applicator bottles.  So pretty to add a little shimmer to anything by just grabbing one of my little bottles.  No mess, and no clean up.  I hope you like my card.  And I hope you come back again soon.

Until next time...............

Crafty Hugs,
Sandy

Monday, January 16, 2012

Valentine Envelope

Here's another Valentine.  I have several, so pretty soon I'll have all I need for this season.  Valentine's Day is such a fun day, though, with all the love and happiness in the air.  We usually send the grandkids things for Valentine's Day.  I'm working on a few treat bags and a couple bookmarks.  Oddly enough the kids really like having "special" bookmarks.  Better than Kleenex, right?  That's a little story -- my granddaughter was reading a book to me before bed, and when we had to quit for the night, she couldn't find a piece of paper to mark her place.  So she used a piece of tissue from the box on the nightstand.  Never thought to use Kleenex for a bookmark.  I think I see a challenge coming on.........


This card is made with last year's Valentine designer paper.  The stamp is Pot Pourri, a retired hostess set.  I really need to use up some of my stash, and I'm trying to use some of my old, but well loved, stamps.  I haven't been a demo that long, so I haven't, as yet, retired any of my sets.  I have them all and hope to continue to use them.   On this card I also used the Scallop Envelope die and Full Heart punch.  The little ribbon tab is pulled to remove the tag from the envelope to show the message.  The little hearts are the from the Heart to Heart punch.  


More hearts on the inside of the Valentine and on the envelope.  On the above picture you can see the removable tag from the envelope.  I hope you like another of my Valentines.

Today I am going back to closet cleaning.  Right, I did start on the cleaning and hope to finish before long.  Certainly this year some time.  Ha ha, not really.  I don't have that much to do.  Just trying to get rid of a few things and pack away some things to our crawl space or attic.  My closet is pretty huge so I keep my cardstock, some supplies, and a few stamps, in cabinets/shelves in my closet.  I really want to get rid of the extraneous stuff in there so that I can get to the craft supplies.  Over the holidays my closet was THE place to put everything that I wanted out of sight.  Now I need to put it all away.  So off to the closet.........

See you next time.

Crafty Hugs,
Sandy

Saturday, January 14, 2012

Explosion Box

 Donna and the gals over at butternutsage challenged our morning chat group to do an explosion box.  This is my interpretation of said box.  Let me first say that I have a purpose for this box.  It contains a birthday present for my sister -- hey, sis, I hope you aren't looking, if so, close your eyes.  She loves anything teal or turquoise and she loves jewel tones.  So I started with a Tempting Turquoise base and added outside panels made with the rubber band on brayer technique -- roll rubber banded brayer in VersaMark and then emboss the VersaMark with Pewter embossing powder.  Then I sponged those panels with 4 different inks -- Wisteria Wonder, Pacific Point, Rose Red, and Concord Crush.    The top uses the labels framelits.


When you take the lid off,  the box "explodes" open to reveal what is inside.  In this case, I did another smaller explosion box to hold the gift.  I think you can see the pedestal in the center, and on that pedestal is a necklace.  The chain goes underneath and the main part of the necklace is displayed.  My intent before I give this gift to my sister is to put photos on each of the 4 larger interior panels -- which is why they are not decorated right now with any additional decor.  The designer papers are Berry Blossoms DSP and Cheerful Treat Hostess paper.


I hope you like my explosion box.  You can join in on these fun challenges, and in our fun morning chats, by coming over to www.butternutsagedesigns.blogspot.com.  We chat Mon.-Thur. from 10:00 a.m. until 11:00 a.m.  Our challenges are every 2 weeks, and we have some more fun ones coming up.  I hope you visit us at the chat.

Until next time........

Crafty Hugs,
Sandy

Friday, January 13, 2012

La la la la

This is going to be another quick one.  Sometimes life just gets in the way.  I am still running circles today.  However, it is Friday the 13th, so I may have to slow it down and be careful.  I'm not superstitious, much, but no sense in pushing the envelope.

My card is one I made a few months ago, but is a change from the red Valentines I have been doing the past couple days, so I wanted to show it.  I love the Music Notes stamping wheel.  In fact, when I loaded this card on my computer, I got to thinking, those notes would make a good Valentine.  So the wheel is back out on my table, and hopefully there will be a musical Valentine soon.


This card is pretty self-explanatory.  Some designer paper, Musical Notes, the Elizabeth stamp and a little ribbon.  I am going to have to sit myself down soon and start listing the supplies for each card, but for the moment, this is the short explanation.

Well, off to continue my life's interruptions.  Thanks for stopping in and taking a look.  Hopefully later today or tomorrow I'll have that explosion box I've been working on.

Crafty Hugs,
Sandy

Thursday, January 12, 2012

Windowpane

This is going to be rather quick today as I will be leaving before too long for a day in the city doing chores, grocery shopping.  All those "fun" things.  And my card is also a quick one.  This didn't take long at all to make.  The focal image is Paisley Petals designer paper cut into squares.  When I first saw this paper I fell in love.  I have used almost the entire package, and for me that is really using it.  I have a 3-ring binder where I keep my main catalog, a zip pocket that holds the minis, and another zip pocket with additional information.  This binder is decorated with Paisley Petals paper front, back, and some additional cutouts.  Love this paper.


Easy, easy card.  Hardest thing on this one was tying the ribbon -- ha ha.

So I am going to run for today, will be back tomorrow with more Valentines.  Thanks for stopping in.  And until next time.........

Crafty Hugs,
Sandy

Wednesday, January 11, 2012

Sweet Valentines

I was on a roll yesterday.  I finished 4 Valentines, a birthday card, and about half of a challenge due this weekend.  That is good because today and tomorrow it's back to reality, as I need to do some laundry, run errands, and other chores.

I've posted here two of the cards I worked on yesterday.  The first is one of the kits I've been doing, and the second is just something that was popping around in my head.


This little girl, from Greeting Card Kids, is such a little sweetheart.  I love all 4 images in that set, but this one reminds me of my granddaughter.  My little Hannah is blond, has a sweet personality, and is always trying to look cute.  She likes to dress up, look pretty, and pose for pictures, and to me this sweet Valentine girl appears to be posing for her cutest picture of the season.  I colored the image with my SU watercolor crayons.  Anyone who knows me knows that I could not live without my watercolor crayons, or my markers for that matter.  For this card I used the new Labels framelit from the Occasions Mini, and the heart on the envelope is also from the Mini.  I threaded some satin ribbon through the Lace Ribbon Border punch.  On the inside I took another border punch, cut it in half, and punched some more hearts to give the inside more Valentine look.  I believe I am going to get my fill of hearts this Valentine season.  And if I continue to do 4 cards each day I will be tired of Valentines by next week! 


My other card today is a very pretty, feminine one.  I used some glittery paper from the Sending Love Specialty paper pack.  I knew that paper was retired, but yikes! I had to go back 2 years to find that it was in the 2010 Occasions Mini.  Ugh!  I hate it when I "save" paper for something special and never get around to using it.  I bet none of you do anything like that -- hoard paper and still have it 2 years later.  So I put it to good use yesterday on 2 of the cards I did, and I vow to use more of it during this Valentine season, retired or not!  I also used some of the pleated ribbon and even made  a little rosette from the ribbon by gathering it into a circle and gluing it to the card.   Not too bad.  My hubby came into the picture again here -- he agrees, it is very "pretty," very feminine, and when I told him it was going to be his Valentine he responded with "Not for ME it isn't!"  Well I guess I will have to make him another one.  (Just kidding, it wasn't for him, but don't tell him that.  I'll just let him think he is going to get a pretty, PINK, frilly, sparkly, mushy Valentine -- ha ha ha ha)


Back to laundry and chores.  I hope I inspired you a little and that you liked what you saw.  Comments about what you think, improvements to be made, ideas to dream up, are all welcome.

Until next time........

Crafty Hugs,
Sandy

Tuesday, January 10, 2012

First Valentine Kit

Yesterday I was very busy, but I did not finish my "to do" list.  I did make the sympathy card.  However, silly me, I did not take a picture before I sealed the envelope.  So for today's post I have the first of the Valentine kits I am working on.  I had seen the "Double Dutch Fold" style card over on Split Coast and wanted to try it.  The style is really very simple to make and the directions on SCS are easy to follow.   The stamp is from Take It To Heart in the Occasions Mini.  When you use the heart framelit dies, cutting hearts is so easy.  No more cutting and cutting, just pop your paper and die in your Big Shot and voila, a beautiful cut every time.  These framelits, and the stamp set, are a must have.  The framlits come in nice, heavy duty, packaging.  I saw on someone's blog yesterday a fun way to fix up your package for easy identification and pretty storage.  I'll be back with that example once I "fix" mine too.  The other circle shapes are Scallop Circle #2, embossed with Square Lattice, and a scallop from the Perfect Pennants die.  I love these dies because they are so versatile.  Here's my Valentine card.


The inside of this style card is a little different, which is what I love about it.  The card opens, and behind the gate fold you can display what you wish.  I decided to keep it pretty simple for this kit and just include a small piece of designer paper to add a little color. 


I believe my friend will be able to make a few of these while in rehab.  I will do the die cutting and stamp the image so that she will only have to cut a little and paste a lot.  She'll have her own Happy Valentine stamps and a few hearts or such to put on her envelopes.  This is a complicated looking card that is very easy to make.  I hope she'll like it. 

I have 3 more kits to make and I'll show them as I finish.  Before the weekend I also need to do the Sunny Morning Chat group's challenge.  Our challenge this time is to create an explosion box.  I have an idea what I plan to do, and once again hope that what is in my head will conform to paper.  We'll see.  Please come join us for our morning chats at 10:00 a.m. Eastern, and our challenges over at www.butternutsagedesigns.blogspot.com.  We'd love to chat with you.

Oh, I almost forgot, I did complete one of the unimportant chores from yesterday.  I made dinner -- much to my husband's delight.  You don't know my husband, he loves food.  You'd never know it because he is tall and still fit.  We had crockpot chicken with mushrooms, sauce, seasonings and served over noodles.  Such an easy way to fix dinner and not have to take too much time away from my craft room.  And yummy too!  But the closet chore -- oh no, nothing on that front.  Sigh!

Until next time.........

Crafty Hugs,
Sandy

Monday, January 9, 2012

Up Up & Away Birthday

I have a cheery Happy Birthday today.  My plan is to send this to a sweet little girl who is spending her birthday in the hospital.  I hope the flying on high hot air baloons will cheer her up.  The inside has more baloons, and the envelope also.  Gave my Up Up & Away stamp set a good workout.  I really like that set and have used it for other birthday cards for a couple of my grandkids.   The designer paper is from Big Top Birthday and the baloons are colored with markers direct to the stamps.  You can also see Lovely as a Tree peeking at the bottom.  That is my all time favorite stamp set, and if SU ever, ever, EV-ER, thinks of retiring that set, I'll make a personal trip out there to twist someone's arm -- Shelli, are you listening?  I can't imagine any other trees for backgrounds and scenes.  It is one of only about 3 of my sets that I NEVER put away.  My other "babies" go back on their shelves, but this one stays on the cabinet next to my work table.  I sure hope the little girl likes my happy card.


It's Monday, and today I have several things on my "to do" list.  I need to do a sympathy card -- sob! -- and I need to do another child birthday card.  Then I start 3 or 4 Valentine card kits I promised a friend.  My friend will be in the hospital with knee surgery and then a rehab center.  She is hoping to work on Valentines but will not be able to take too many supplies.  I hope to prepare kits of cards that will be mostly to put together and not too much stamping.  She will take watercolor crayons but not many markers or ink pads.  Also today I have to fix dinner, which is my husband's favorite of my chores, and work on cleaning my closet -- but these last two don't count!  Smile! 

That's it for today.  When I finish some of my "to do" list I'll be back.  Until then........

Crafty Hugs,
Sandy
 

Thursday, January 5, 2012

Garter Card?

You ask "what is a garter card?"  Not really.  However, if you read my post from Jan 3rd you see that I talk about having made a couple cards that day, one of which I showed to my husband.  His comment was he thought it was a garter on my card and wanted to know if it was removable and who was going to get it.  Thus, a "garter card."  You be the judge.  Does this look like a garter?  Weeellll, maybe.  I had to laugh at him, because although I know he has a very crazy sense of humor, I had no idea by using pleated ribbon and a big flower that he would interpret it the way he did.  Hmmm......I may have to get more input from him in the future.  Perhaps he will add more "spice" to my postings.  I wonder what he'll say when he sees the corset from Rue Des Fleurs -- I'll keep you posted.


The photo of this card looks a bit bright and a little off.  I need to hone my photographic skills a bit and try to take better pictures.  This was taken a bit late in the day without flash.  I'll try to do better next time.  For this card I chose to use Attic Boutique designer paper and vanilla cardstock.   The vanilla looked just a tiny bit naked to me so I stamped the swirly stamp from Creative Elements and colored in a few of the flowers.  I think by doing that I kept the Victorian look going.   I hope so anyway.  I also used my new Blossom punch -- loving that punch.  I couldn't wait to try out the punch, and now I can't wait to stamp some of the images from the coordinating Mixed Bunch stamp set.  I really want to try the butterfly you can make by stamping one of the flowers, punching it out, and cutting the top and bottom portions off.  When I saw the butterfly picture on pg 16 in the Occasions Mini I thought "what a creative idea!"

If you have not made your wish list from the new Occastions Mini, well what are you waiting for.  Get busy and choose all the gorgeous things you want to work with.  And don't forget, if you order all those beauties beginning January 24th you get to choose something FREE from the Sale-a-Bration Mini for every $50 you spend.  What is better than FREE?  TWO FREEs!  Let me know if I can help you with any of your choices, and if you don't have a SU demonstrator, give me a holler.  I can help there too.

Until next time.............

Crafty hugs,
Sandy

Tuesday, January 3, 2012

Attic Flowers

I finally had the chance to sit down at my craft table and do something other than Christmas cards.  I was able to pull out a few of my new play things from the Occasions Mini.  Of course, the first 2 cards I made weren't quite what I wanted.  One I am going to work with some more.  The other one I showed to my husband.  Big mistake.  I used the new pleated ribbon on that one and attached a Blossoms punched flower to it.  Leave it to a guy.  He said it looked like a garter and he wondered if it was removable and who was I sending it to.  Well, I think I may take another look or two before I post it.  LOL!

The card I am including here is the last one I did.  Quick and simple, but I like it.  I absolutely love the Attic Boutique designer paper, so I focused on the paper.  There are some sparkly Dazzling Details here but can't be seen.  I added DD to the flowers.  I also used some of my Mocha Morning ds -- another paper I love.  Then I decided to thread ribbon through the ribbon punch and really like that look.  I've seen it done on some other blogs, so obviously it isn't my original brainstorm.  Just another way to use the punch -- and that is good.  Take a look...............


That will be it for today.  I hear dinner calling.  Tomorrow is the first day the Occasions Mini goes live, and I believe I just may have to have a thing or two more to add to my collection.  Oh me, oh my.

Until next time......

Crafty Hugs,
Sandy

Sunday, January 1, 2012

Happy New Year 2012

I wish everyone a very Happy New Year and hope that 2012 will bring you much joy, prosperity, and the chance to do everything you wish. 

Did you have a nice New Year's evening last night?  My hubby and I host a party every year, and the fun, food, and guests last night were every bit as nice as past years.  The highlight of the party, other than the midnight toast and kiss, is our Ugly Gift Exchange.  What is that, you say?  Weeellll, first you find the ugliest old thing you have around your house.  You know, those ugly unwanted things you bury in the basement or garage?  Then you dust it off, wrap it up in some ugly paper -- or nice paper if you want it to be enticing.  You bring it to our party and put it under our tree.  Of course, the gifts are not for us as we don't want them either.  Shortly before midnight each couple draws one numbered piece of paper from the hat.  When your number is called --starting with 1 to whatever number of couples brought gifts -- you select a gift from under the tree.  Each successive person can either take a gift from someone before them or pick a new one from under the tree.  We get lots and lots of laughs, many comments about where in the world a person could have found "THAT," and many comments about where that person is going to hide it before they go home.  You see, several couples try to hide thier "treasures" under our bed, in our closet, behind the TV, anywhere they think they can get away with leaving it behind.  Of course, several years ago I got wise and started taking pictures of each "treasure" as it was opened.  I'm no dummy!  I have a record of each and every gift, and have no problem taking that gift back to its rightful owner the next day.  Most of us are neighbors, so it is easy to take the gifts around.  We have much fun with our escapades in trying to get rid of our ugly gifts.  Last year  "Miss Kitty," which was a really tacky, painted, ceramic cat, moved around from neighbor yard to neighbor yard for about 3 weeks until all of a sudden one day it totally disappeared.  We have no idea where she is now.  Then there was the year of the flamingoes, and the dancing bear, and................well, you see.

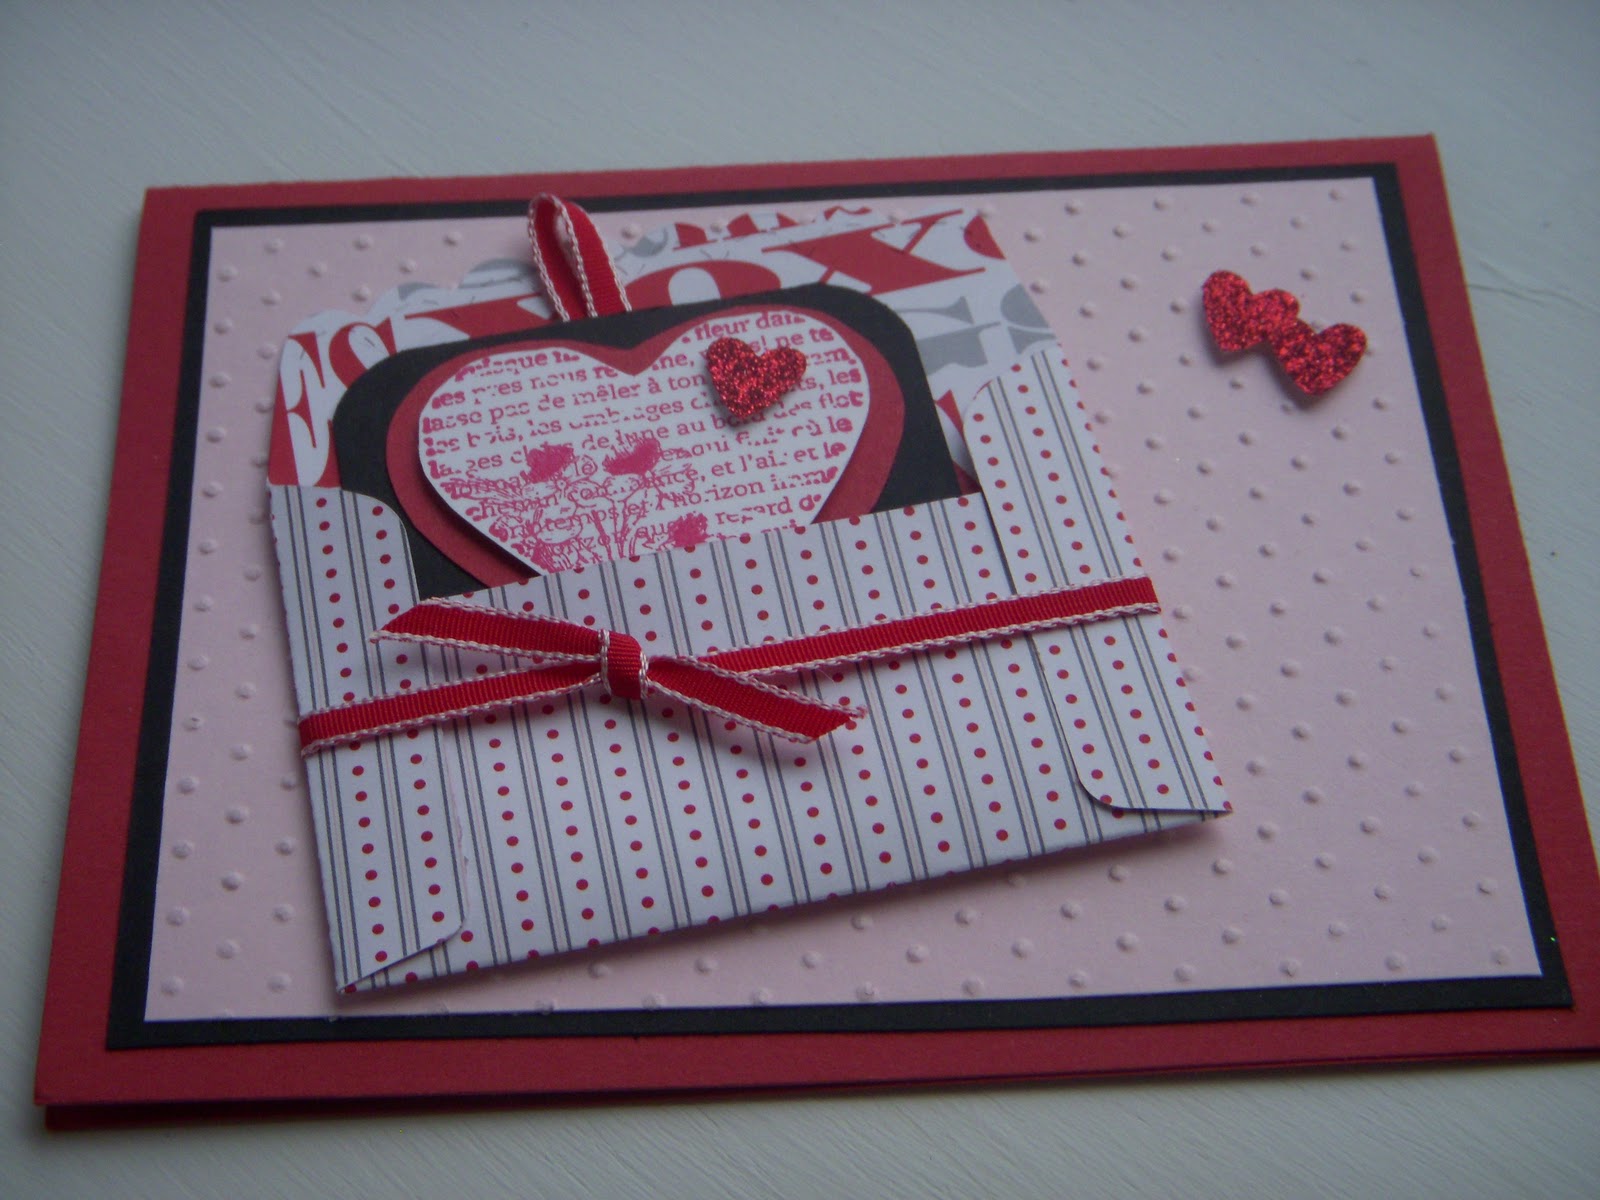
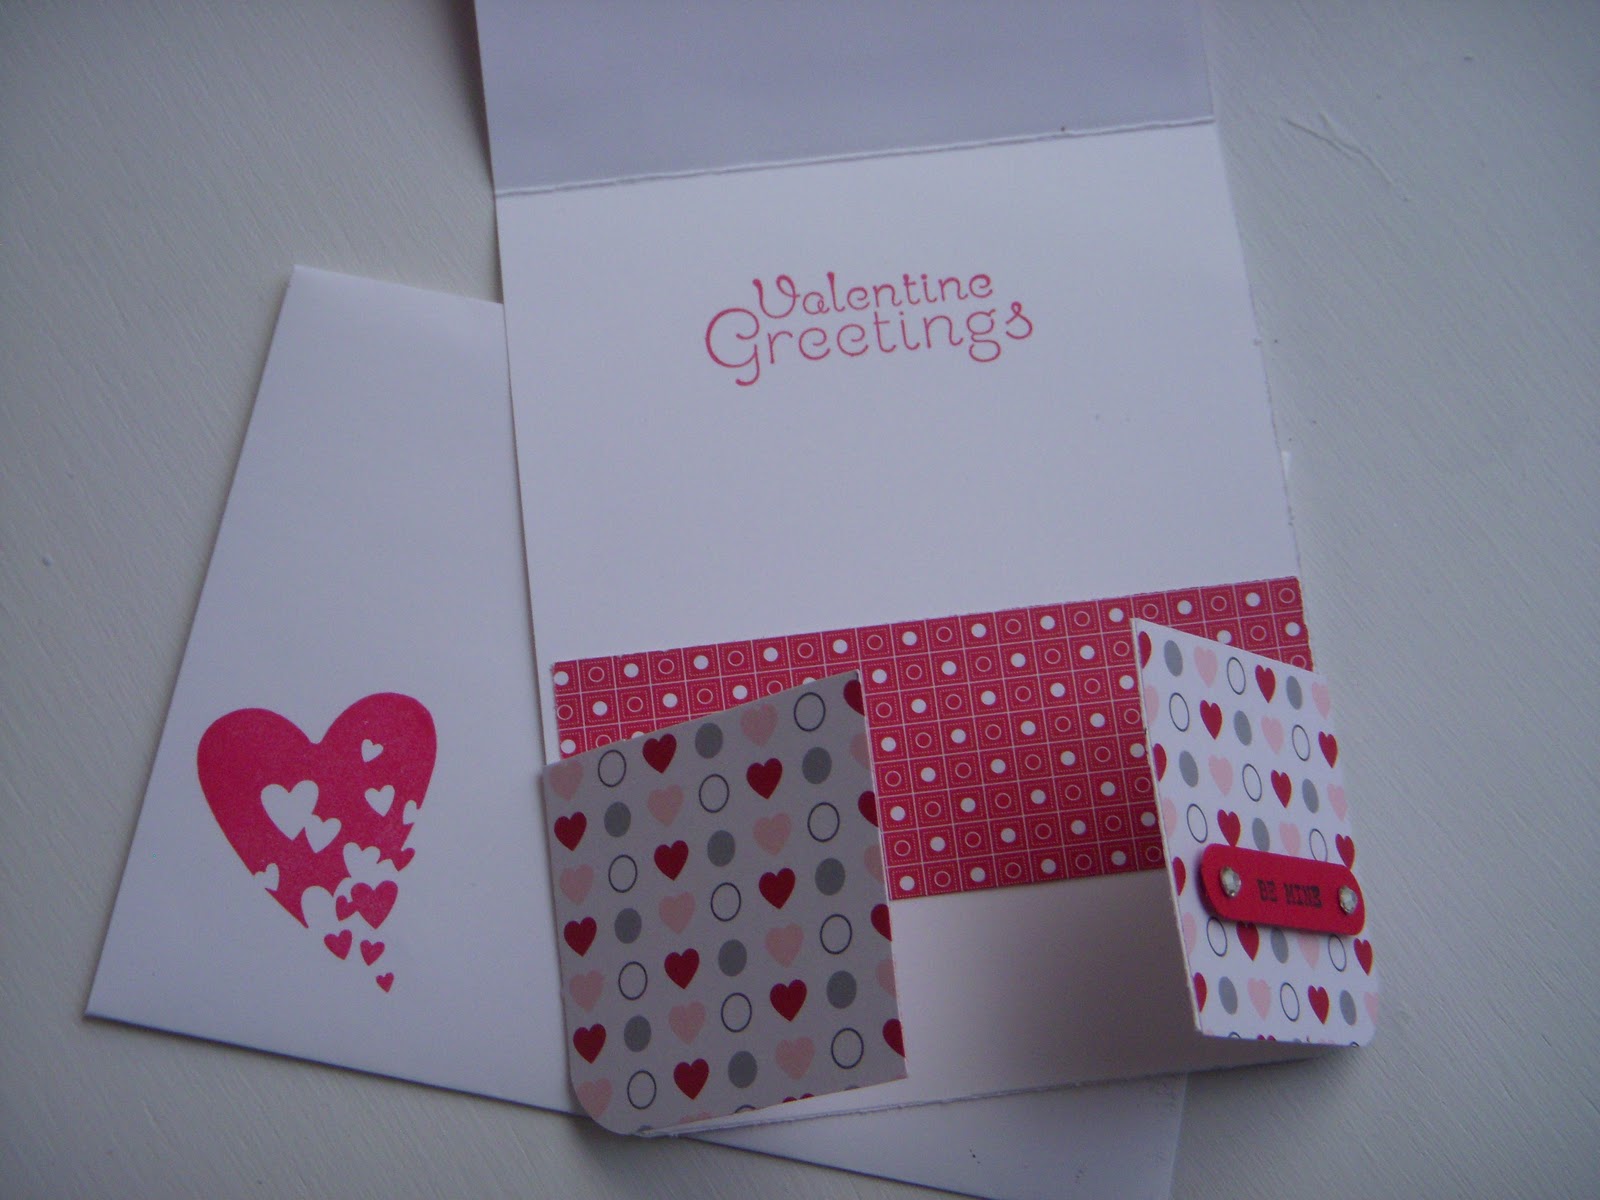
Ok, so our Morning Chat group at Butternut Sage's blogsite was challenged to do something with a calendar.  After many hours of thought -- and a mojo missing in action -- I came up with the following:


This calendar is a little desk calendar that I will put on my craft table. You can fold it so that 2 months show at a time, and it will stand up by itself.   I've tried to do each page typical of a holiday, the time of the year, or birthday for that month.   Other years my favorite calendar was Stampin'Up's Days to Remember.  I really liked that calendar because when the year was over I had 12 scrapbook pages for my scrapbook.  Since we no longer have that calendar available to us, I will have to find another way to get my scrapbook pages.  I will probably work something out on MDS for this year.  In the meantime, today's post, is another option.

I hope you will join us over at www.butternutsagedesignes.blogspot.com for our morning chat Mon-Thur at 10:00 am.  We have fun discussions about new product, how to use it, and sometimes topics with no relation to crafting.

Until next time.....

Crafty hugs,
Sandy